Building Odyssey

Sea Chest, Part 2
Wednesday, March 14, 2012
With the sea chest assembly complete and fitted, it was time to weld it in place. The edges of the 3/8” (10mm) keel plate as well as the chest were beveled wide. Since the inside will be difficult to weld in places, the outside welds need to be perfect to insure integrity. Taking the time to do the weld prep properly and thoroughly always pays off in superior welds.
I simply couldn’t reach the underside of the chest on the inside to make the complete weld. I even tried disassembling the MIG gun and modifying it to fit the tight space, but to no avail. TIG welding upside down in thick material with a mirror also proved fruitless. I decided to stop before I did more harm than good. Because of the way the joint is designed it will not leak, and is incredibly strong.
Finishing the raw water intake system
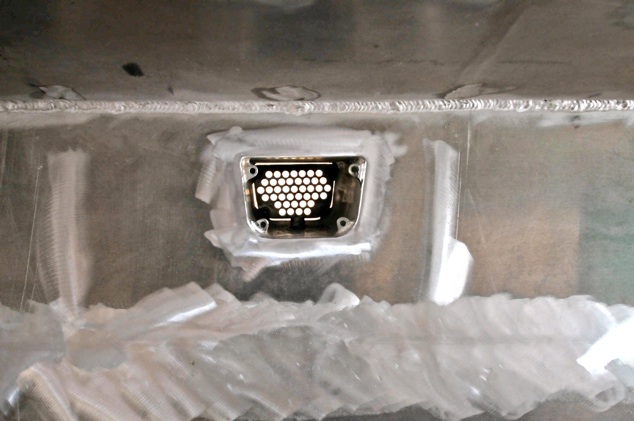


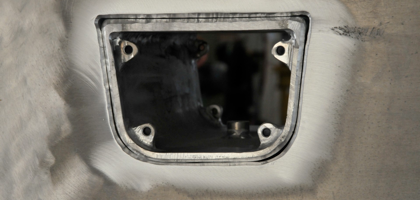
The grate is held in place with four 5/16x 1” flat head 316 ss machine screws, with Helicoils on the female threads. I will also coat these screws thoroughly with TefGel before final assembly to insure that they can be removed later for maintenance.
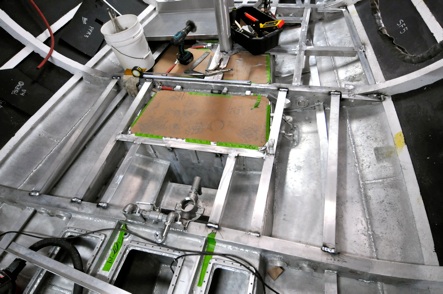
To the right , looking forward the sump is in the middle between the aft diesel tanks and the water tanks. Below is a top view of the sea chest spanning the keel. The assembly to the left is part of the raw water strainer system.
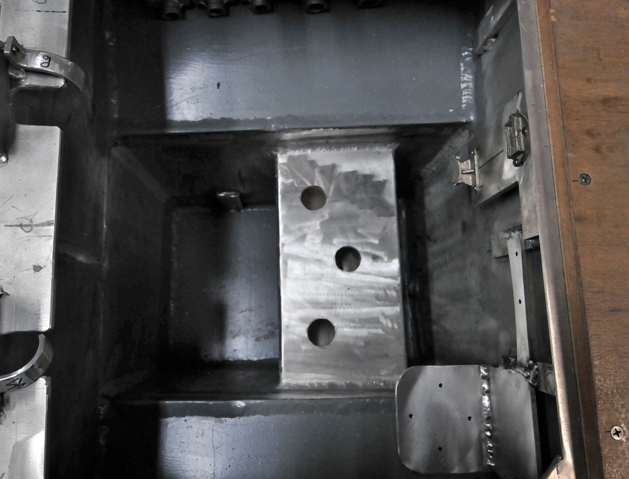
The holes for the seacocks were positioned and drilled with a holesaw and then finished with a die grinder. The bilge sump was painted with petit EZ Bilge to protect the aluminum from stray bits of dissimilar metals.


