Building Odyssey

Cabin Doors
Wednesday, February 24, 2016

Mid-winter is a good time to do woodworking for several reasons. The humidity is generally lower, so the wood behaves better (although the Spanish Cedar we used in this project is remarkably stable), the short daylight hours make doing outdoor work problematic, as do the colder temperatures. The aroma of freshly sawn wood gives a pleasant sensory experience at a time when there is nothing blooming and the outdoor world is asleep.
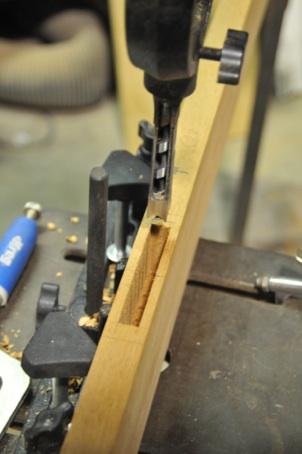
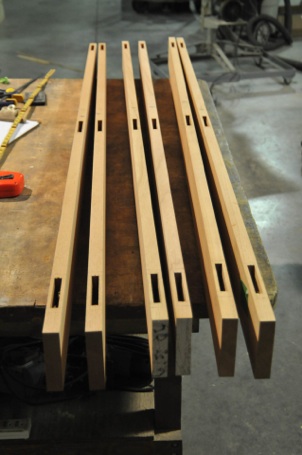
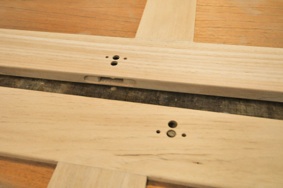
This winter’s project was making the three interior doors for the boat: quarter berth, main cabin and head. I had previously (3 or 4 years ago) put aside some boards that had nice straight grain and were of a similar tone. Boat doors are thinner than house doors, which means they are more susceptible to misbehaving wood. These doors would be 1” (25cm) thick, stile and rail, with veneered plywood panels. How to join the stiles to the rails? I absolutely dislike the matched router bit sets that are available which cut an edge profile at the same time as making a tiny tenon to fit into a groove: completely useless in my opinion for any door that is going to see real use. I looked hard at the new-ish Festool Domino joiner, which cleverly cuts mortises with an oscillating spiral cut bit, sort of like a biscuit joiner on steroids, but the high price really put me off. I read a couple of articles about various router jigs for cutting the mortises (the slot), and even bought a spiral uncut bit and an edge guide…Or I could cut them by hand, guaranteed to be a ill-fitted mess. And then I remembered the horrible old drill press mortising chisel. I say horrible because this rather brutal tool was so derided by my woodworking teachers at the College of the Redwoods, and generally disdained in every book on fine woodworking I had in my library. And yet, there it was in the catalog, a number of versions. A whole set from Delta for under $100.00! The key to making them work without lots of smoke and scorched wood is to hone the outside of the square chisel body and to dress the cutting edge of the internal auger with a diamond file. I wouldn’t want to use this tool in white oak or rock maple, but in a soft wood like this mahogany it worked very well. Key points are to keep the slot clear of chips, keep track of the fence side(the mortise will never, ever, be perfectly centered) and take your time. The resulting mortises, although ever so slightly off center, are all exactly the same width due to that being determined by the outer dimension of the square chisel. Machine accuracy used correctly can be a wonderful thing.
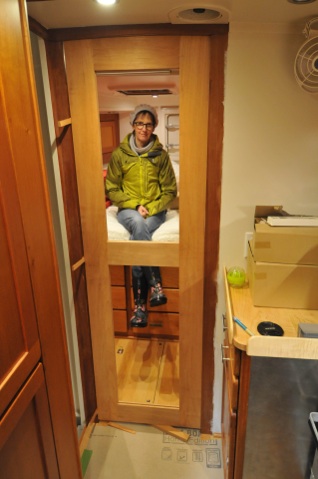
Privacy issues.
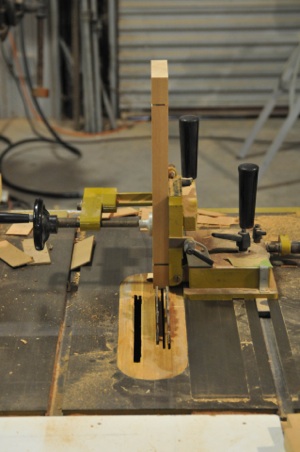
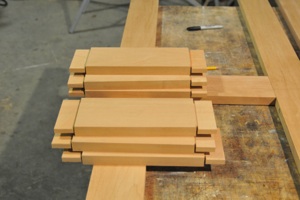
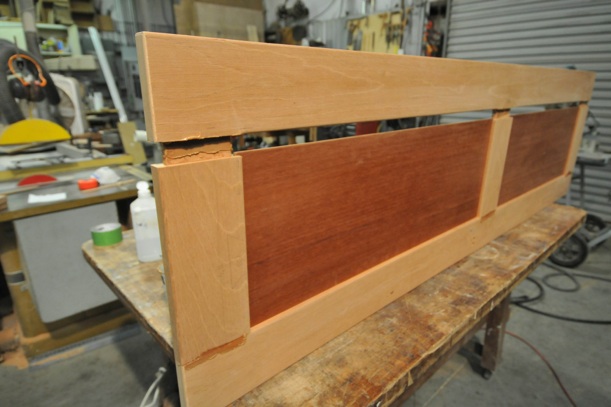
Next I cut the tenons, which are similar to the ones in the cabinet doors except these are shoulder tenons, with 4 cut sides. The sliding tenon jig has a micrometer, so once you shim the 2 dado saw blades to produce the correct thickness to slip into the mortise it’s just a matter of fine tuning the position of the tenon to match the slightly offset mortise. The micrometer makes it easy. Remember to keep up with the fence side. I mark a big “F” on this face. Yes, there are other ways to do all of this, and my way involves the tools I have acquired over the years.Your way will likewise use your tools and skill set, both can be upgraded!
Just remember to look at the wood, assess its qualities , know which way the grain runs, what defects it has, whether it’s likely to split…this is what makes the difference between a woodworker and a wood butcher.
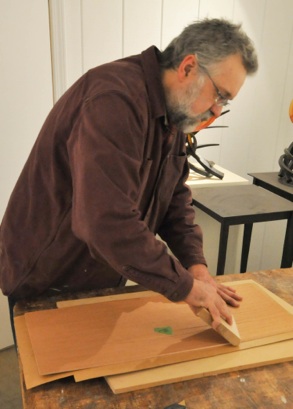
The panels are 5mm plywood , veneered on both sides with paper-backed Spanish Cedar veneer and set into routed grooves. I really like the Titan water based glue, it’s very easy to use and sticks tight.I made a maple smooth block, and the picture shows me gluing up in the confines of my small gallery space-the only area of the shop could keep warm enough for the glue to set. Did I say woodworking in winter is fun? Cut the plywood to fit, then cut the veneer sheets 1-2” oversize, glue, dry , then trim with razor knife. Sand a slight bevel onto the edges to keep the veneer getting caught on the groove when assembling. I then prime the panels with the thin epoxy Smith’s CPES before assembly.
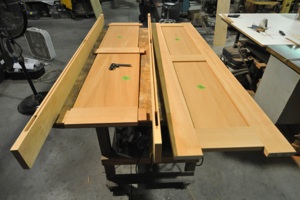
The beauty of a proper mortise and tenon door is that you can easily assemble and disassemble it and each time it is the same. I shimmed the doors into their openings to locate and fit the hinges and make final trims. Also before final assembly I mortised the slit for the nice door knobs I obtained from Southco. They have magnetic latches, very cool.
I used thickened West 105 epoxy to glue the doors together. While my joints were, of course, air tight, I didn’t want any hint of yellow glue possibly wicking its way into view. Judicious is the word here, as in don’t use too much glue! The joints should fit tightly , so there’s really not much room for the glue, and it will make a mess when it squishes out.
Since everything is already sanded (you did pre-sand all of those inside edges, didn’t you?) there’s just a bit of finish sanding at the joints before epoxy priming and varnishing with Interlux Goldspar 60.
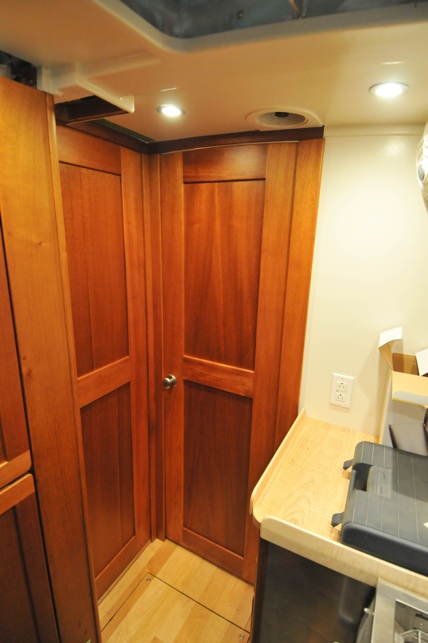
Of course, in the real world (as opposed to the Blogosphere) things don’t always work out perfectly at first. Both the master cabin and head door surrounds and hence, the bulkheads, had right and left sides slightly out of plane. My doors were dead flat. So they contacted the door stops at just one area. A hand shoulder plane quickly took the required 1/8” off the stop, a bit of varnish and hey, presto, no one’s the wiser. The next to last job was to install the door knob (aka entry set) and mortise in the latch strike box. The magnetic latch really work well, I used Newfound Metals non-rattling door holders on all three doors. I was very satisfied with these doors, especially the fact that they had no twist to them. The last part of the project was to put that big fat checkmark next to the line item on the master To Do list: Cabin Doors-DONE!


