Building Odyssey

Hard Dodger
Friday, January 15, 2016

I love the photos of new sailboats featured in the magazines: no deck gear, no dodger, no bimini, no fenders. But after a day in a stiff headwind one begins to appreciate a wind break. Granted, our pilot house design has pretty good protection for someone seated against the aft salon bulkhead. But the companionway needs protection, and having a “dashboard” to stow binoculars, ipad, mount instruments, etc. seems like a really nice luxury. A canvas dodger with collapsible frame is an option, but I’ve always thought they looked like an afterthought, and, they ain’t too sturdy. But, they’re relatively easy to build, especially away from the shop.
Our dodger needed to be high enough for head clearance when entering the cabin, high enough to see through when at the helm, but not so upright as to look dorky. It needed to fit the aesthetic of the lines of the ship. The forward pilothouse windows were too sloped to emulate on the dodger, so I choose the reverse of the 20˚ angle at the aft end of the pilothouse and of the end of the coamings. The top follows the curve of the pilothouse roof, more or less.
Artful dodger?
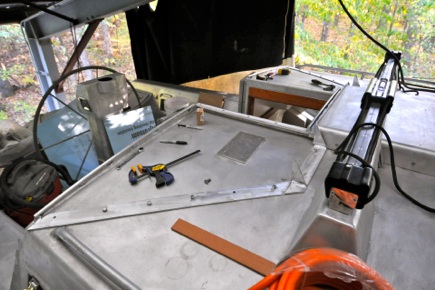


Months (years?) earlier we had started by defining the footprint in the available space, bridging the hatch turtle, working with the traveller. I installed 3/8” threaded screw bosses into the pilothouse roof with 1/4 x 2-1/2” base flanges mated to the holes. We used blue foam sheet to make a rough pattern of the panels, then refined this onto thin plywood, then to the 1/8” 5086 aluminum. These 3 panels were tacked in place, with 1” pipe as joint strengtheners between the center and side panels.
The the roof was tacked on and trimmed to fit. I should have used the pipe along the roof to side joints as well to limit the weld distortion. Still, I managed to keep it straight with the aid of some temporary strongbacks.
Helen was kind enough to point out that we needed some ports to run the various traveller , main sheet and other lines through...so these slots were cut and rimmed with 5/8” round bar for a smooth lead.
The entire unit is light enough to be easily moved by one person, and sturdy enough to sit on. It will make an excellent perch.
Originally I had thought to use commercial windows, with the center two hinged at the top. But the corner radius needed was 3”, which looked huge, the glazing was to be 1/4” glass (heavy) and the price was $500 each. So we opted for 1/4” poly-carbonate (makrolon AR), with the side lights fixed and the center ones removable. That way if we’re at anchor and want the air flow it’s a five minute job to take a panel out, but otherwise it’s secure. The glazing was a tedious operation with lots of small pieces and precision welding. Working around an opening in thin metal there are lots of opportunities for distortion. Fortunately some judicious whacks with a hammer can usually solve any problems.
I welded some strong handholds on top, with space for sitting. Once installed the dodger makes a very cozy space that I think will provide comfort and security. The bimini top awning will be able to connect to the back edge of the dodger and we will make side panels for a full enclosure of the cockpit. While all of this may be counter to the image of the rugged salt spray in his face barnacle encrusted sailorman , I think it will make life onboard much more pleasant.
Grinding, grinding and grinding. Finishing the work is at least half the job. Fortunately aluminum is easy to work, but it does take some will power to keep at it. We use hard disks, carbide burrs, flap wheels, pneumatic belt sanders, orbital sanders, scotchbrite...


